October 03, 2026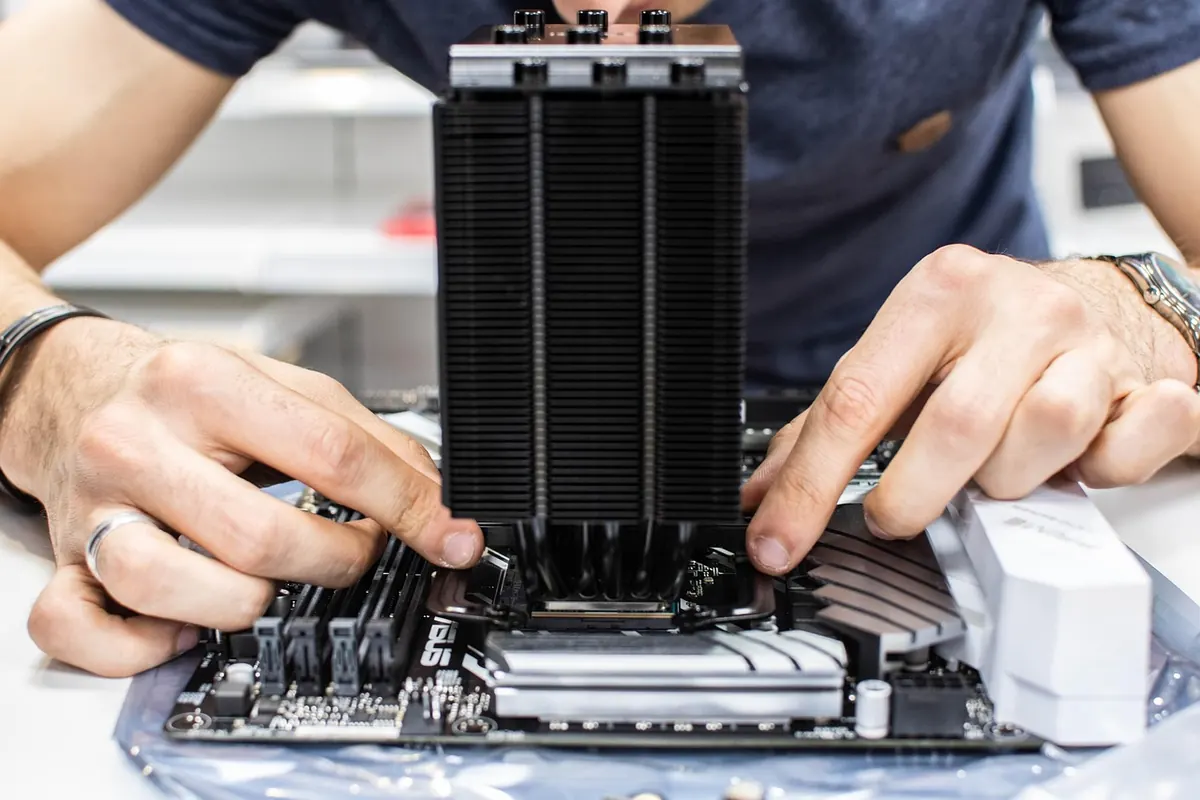
Building a gaming PC looks intimidating from the outside: a dozen boxes, a nest of cables, and a thousand forum arguments about which part is best. In practice, a modern build is mostly a matching exercise. A handful of components have to agree with each other, and everything else comes down to preference, budget and how much noise you're willing to tolerate.
Here's what each part does, the compatibility rules that catch beginners out, and a sample budget build you can follow from the first click to the first boot.
The Parts, and What They Actually Do
Processor and motherboard
The CPU handles game logic, physics and AI routines; the graphics card draws the frames. In most gaming builds you should spend more on the GPU than the CPU, because that's where frame rates come from. The motherboard is the part everything else plugs into. It decides which CPUs fit, which memory standard you can use, how many drives you can add and what ports you get on the back. Buy the board to fit the CPU, not the other way round.
Graphics card
The GPU is the single biggest influence on gaming performance. Two numbers matter as much as the model name: its physical length, and the power connectors it needs. High-end cards are long, three slots thick, and pull a lot of watts. Measure your case before ordering.
Memory and storage
RAM holds what the game is doing right now. For gaming, two matched sticks (a kit) in the correct slots beats one bigger stick, because dual-channel memory feeds the CPU faster. Storage is almost always an M.2 NVMe SSD these days — a small one for Windows and a larger one for a game library is a fine split.
Power supply and case
The PSU converts wall power into something the components can use. Buy from a known brand, look for an 80 Plus rating and check that it has the connectors your GPU needs. The case is airflow and space: a mesh front, at least two fans, and enough clearance for your cooler and card.
Compatibility Rules That Bite Beginners
Almost every first-build mistake comes from one of these mismatches. Check them off before you order anything.
- CPU socket: AMD and Intel use different sockets, and sockets change between generations. A processor only fits a board with a matching socket. Some boards also need a BIOS update before they recognise a newer CPU in the same socket — check the manufacturer's support page.
- Memory type: DDR4 and DDR5 are not interchangeable, and the board's slots are keyed for one or the other. Some Intel boards come in DDR4 and DDR5 versions of the same model, so read the exact product name.
- Case and board size: ATX, micro-ATX and mini-ITX boards have different mounting patterns. Cases list which sizes they accept. Mini-ITX builds are cramped and unforgiving — skip them for a first build.
- GPU clearance: Compare the card's length with the case's stated maximum, and count the slots it occupies. Don't forget the cables that stick out of the side of the card.
- Power: Add up the CPU and GPU's recommended wattage, then leave headroom. Make sure the PSU has the right PCIe power connectors — a modern card may want two or three 8-pin cables, or a newer 12V-2x6 style connector.
- Cooler clearance: Air coolers have a height limit; liquid coolers need a radiator mount size the case supports.
A Sample Budget Build, Step by Step
The order you choose parts in matters more than the parts themselves. Work from the CPU outward and you'll rarely paint yourself into a corner.
- Set a budget and split it. Roughly half toward the GPU, a quarter toward the CPU and motherboard together, and the rest for memory, storage, PSU and case.
- Pick the CPU. Choose a current mid-range chip from either AMD or Intel. In this tier, a mid-range CPU with a solid GPU beats a fast CPU with a weak GPU every time.
- Pick the motherboard. Match the socket, then buy the cheapest board from a reputable brand that has the features you actually need: an M.2 slot, enough USB ports, and (if you want it) built-in Wi-Fi.
- Add memory. Two matched sticks totalling 16GB is the sensible floor for gaming, 32GB if you stream or run heavy mods. Enable the memory profile in BIOS later.
- Add storage. A 1TB NVMe drive covers Windows plus a decent game library without much juggling.
- Choose the GPU. Pick by resolution, not by price bracket alone. Cards from the last couple of generations are all fine; check length and connectors against your case and PSU list.
- Size the PSU. Take the GPU's recommended wattage, add a comfortable margin, and buy a quality unit with the cables you need.
- Pick the case last. Now you know what has to fit inside it. Prioritise airflow over looks — glass panels are lovely until your components are hot.
Assembly, First Boot and the Two Settings That Matter
Build on a table, not carpet, and keep yourself grounded by touching the metal chassis before handling parts. Fit the CPU, cooler, memory and M.2 drive to the motherboard before it goes in the case — there's more room to work. Confirm the case standoffs are in the right positions for your board size, then install the PSU, motherboard, GPU and front-panel connectors in that order.
If it doesn't post, don't panic. Reseat the memory, check both power cables to the motherboard (the wide one and the small CPU one), confirm the GPU is fully clicked into its slot, and try a single RAM stick. Once you're in, two settings do most of the work: enable the memory profile (XMP or EXPO) so your RAM runs at its rated speed, and set the fan curve so the machine is quiet at idle.
For used parts, buy from sellers with a return window and test immediately. Warranty on a GPU is worth more than a small saving.
Where to Go From Here
Start with your CPU, then buy outward, and don't agonise over the last few percent of performance — the difference between a good part and a great one rarely survives contact with a real game at your resolution. Leave room in the case and the PSU for one future upgrade, keep the boxes for returns, and treat the first build as practice. The second one takes an afternoon.
Photo: HutchRock / Pixabay